It is currently Mon Jul 06, 2026 2:16 am


All times are UTC - 5 hours [ DST ]


Post new topic Reply to topic  [ 16 posts ] 
Author Message
 Post subject: I created a waterdrop brush
PostPosted: Sat Oct 22, 2011 4:04 am  (#1) 
Offline
Global Moderator
User avatar

Joined: May 16, 2010
Posts: 16079
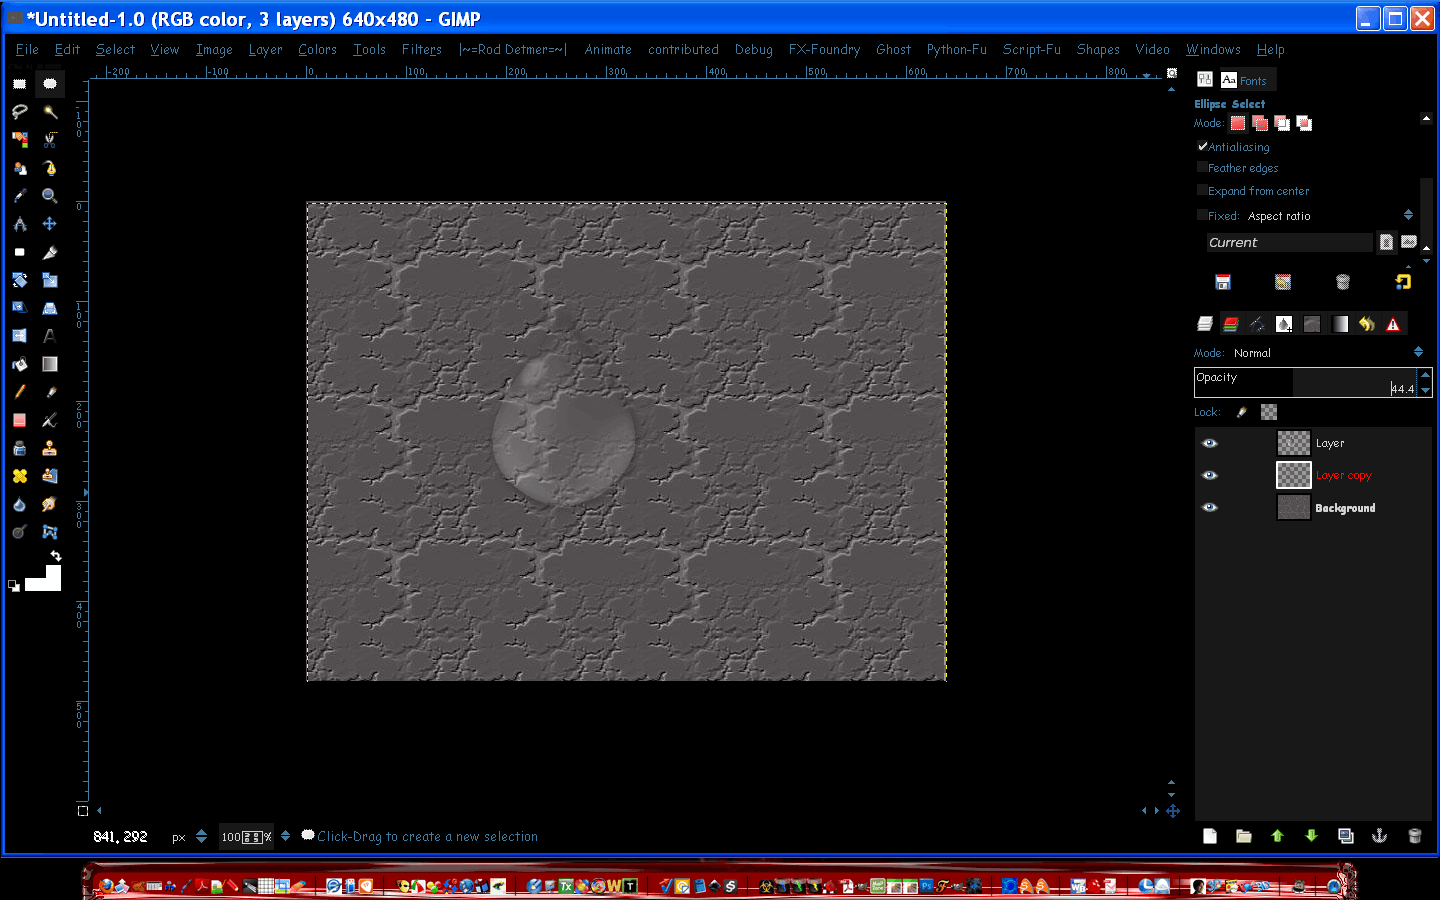
Its in gray scale so just click with the brush where you want the drop, do an alpha to selection, go to Colors/Map/Gradient map.
Be sure to have a couple watery colors set for foreground and background.
Examples
Image

Image

GBR attached in zip

Attachment:
WaterDrop_RD5.zip [36.85 KiB]
Downloaded 680 times

_________________
Image


Share on Facebook Share on Twitter Share on Orkut Share on Digg Share on MySpace Share on Delicious Share on Technorati
Top
 Post subject: Re: I created a waterdrop brush
PostPosted: Sat Oct 22, 2011 6:12 am  (#2) 
Offline
GimpChat Member

Joined: Aug 27, 2010
Posts: 491
Sweet ...

Thanks, Rod


Top
 Post subject: Re: I created a waterdrop brush
PostPosted: Sat Oct 22, 2011 6:45 am  (#3) 
Offline
Global Moderator
User avatar

Joined: May 16, 2010
Posts: 16079
Your welcome. :)

_________________
Image


Top
 Post subject: Re: I created a waterdrop brush
PostPosted: Sat Oct 22, 2011 7:56 am  (#4) 
Offline
Retired Staff
User avatar

Joined: May 22, 2008
Posts: 6946
Location: Somewhere in GIMP
Thanks Rod!

By the way, Kingthings has a Scrybbledot font that might be fun to utilize in the water drops tut. I just got it so haven't tried it with the tutorial.

Image

http://www.dafont.com/kingthings-scrybbledot.font

_________________
Image
World War IV will be fought with sticks and stones. - Albert Einstein


Top
 Post subject: Re: I created a waterdrop brush
PostPosted: Sat Oct 22, 2011 8:37 am  (#5) 
Offline
GimpChat Member
User avatar

Joined: Apr 07, 2010
Posts: 14182
thanks Rod.

_________________
Image


Top
 Post subject: Re: I created a waterdrop brush
PostPosted: Sat Oct 22, 2011 8:54 am  (#6) 
Offline
GimpChat Member
User avatar

Joined: Sep 12, 2011
Posts: 377
Location: UK
that is sweet thanks you Rod :D


Top
 Post subject: Re: I created a waterdrop brush
PostPosted: Sat Oct 22, 2011 10:35 am  (#7) 
Offline
GimpChat Member
User avatar

Joined: Aug 24, 2011
Posts: 1785
Location: Dallas, TX
Thanks for the water drop brush Rod. What I want to know is how you got the contour to the gradient.

I was playing around with it and I think I may have stumbled onto the right way to get a better water effect. I used the template to add a channel, Layer Effects, Inner Shadow, Inner Glow, an extra layer for the inner shadow on the bottom right, and added another highlight. Check out the pics below.

After I made the new one, I opened a new image to test it out, bucket filled a different background layer, opened the png and the template as layers then aligned them. Alpha to Selection the template, made a new channel, turned it off and went back to layers and turned off the template, selected the background layer and displaced it using the template selection. Piece of cake!


Attachments:
real drop.jpg
real drop.jpg [ 285.82 KiB | Viewed 9225 times ]
real drop.png
real drop.png [ 53.34 KiB | Viewed 9225 times ]
real drop_template.png
real drop_template.png [ 4.31 KiB | Viewed 9225 times ]

_________________
Image
Top
 Post subject: Re: I created a waterdrop brush
PostPosted: Sun Oct 23, 2011 11:12 am  (#8) 
Offline
Global Moderator
User avatar

Joined: May 16, 2010
Posts: 16079
Remember Draconian for realism you will need magnification inside the drop.
Using my brush - shadow layer - opacity set low with a Filter/Distort/Lens Distortion zoom.(about 14.16)
Image


**************************************************
I created the waterdrop GBR (brush) file in 4 layers.
1) a bg gradient (linear) blue to darker blue
2) a light blue area created with the paths tool and blurred on the left, bottom, and right side..
3) a white ellipse to the upper left.

After merging (4th layer) i desturated the image using luminosity.
Then i saved it as a GBR file.

I created it this way so it could either be colored using gradient mapping, or used as a realish looking drop by setting opacity, creating bg shadows, and lens zoom.

_________________
Image


Top
 Post subject: Re: I created a waterdrop brush
PostPosted: Sun Oct 23, 2011 11:16 am  (#9) 
Offline
Global Moderator
User avatar

Joined: May 16, 2010
Posts: 16079
By doing that way you can merge all layers and use Iwarp to finalize the drop...example.


Iwarp - Grow and move to create a more realistic drop of water.
Image

_________________
Image


Top
 Post subject: Re: I created a waterdrop brush
PostPosted: Sun Oct 23, 2011 11:25 am  (#10) 
Offline
Global Moderator
User avatar

Joined: May 16, 2010
Posts: 16079
This is another example. :)
Image

_________________
Image


Top
 Post subject: Re: I created a waterdrop brush
PostPosted: Sun Oct 23, 2011 2:59 pm  (#11) 
Offline
GimpChat Member
User avatar

Joined: Aug 24, 2011
Posts: 1785
Location: Dallas, TX
Rod wrote:
Remember Draconian for realism you will need magnification inside the drop.
Using my brush - shadow layer - opacity set low with a Filter/Distort/Lens Distortion zoom.(about 14.16)

I created it this way so it could either be colored using gradient mapping, or used as a realish looking drop by setting opacity, creating bg shadows, and lens zoom.


If you look at that snakeskin image above there is some distortion from the displacement settings I used (about 28) but still didn't get the level of realism you are referring to. I mentioned maybe trying lens distortion in another post which I see you have incorporated, but what about using both. In the photos of water drops there is also always a hard, crisp dark colored line on the edges like a depth shadow.

You've made it a lot easier to do using a brush. With multiple size drops, it's next to impossible to run several operations on them all at once. The large drops end up with a narrow shadow whereas the smaller ones get a fat shadow, yada, yada, yada. With the brush you get the basic effect already built in and the ability to scale to boot.

Great idea building the basic parameters into a brush.

_________________
Image


Top
 Post subject: Re: I created a waterdrop brush
PostPosted: Sun Oct 23, 2011 3:38 pm  (#12) 
Offline
Global Moderator
User avatar

Joined: May 16, 2010
Posts: 16079
That's the beauty of brushes. :)

_________________
Image


Top
 Post subject: Re: I created a waterdrop brush
PostPosted: Sun Oct 23, 2011 11:39 pm  (#13) 
Offline
GimpChat Founder
User avatar

Joined: May 22, 2008
Posts: 5241
Location: Gimpville
Nice work, Rod. :tyspin for the brush.

_________________
“If you reach for the stars, you just might land on a decently sized hill.” - Stuart Hill


Top
 Post subject: Re: I created a waterdrop brush
PostPosted: Sat Dec 05, 2015 6:31 am  (#14) 
Offline
GimpChat Member
User avatar

Joined: Dec 05, 2015
Posts: 7
Location: Denmark
Rod wrote:
Its in gray scale so just click with the brush where you want the drop, do an alpha to selection, go to Filters/Map/Gradient map.

I could not find the Gradient map, so I took the time to locate your minor fault :)
It's not Filters/Map/Gradient map, but Colours/Map/Gradient map...

Anyway thanks, and now on to the playground ;)

_________________
tanasha67:
"Even shadows are beautiful, in the right light..."


Top
 Post subject: Re: I created a waterdrop brush
PostPosted: Sat Dec 05, 2015 7:07 am  (#15) 
Offline
Global Moderator
User avatar

Joined: May 16, 2010
Posts: 16079
tanasha67 wrote:
Rod wrote:
Its in gray scale so just click with the brush where you want the drop, do an alpha to selection, go to Filters/Map/Gradient map.

I could not find the Gradient map, so I took the time to locate your minor fault :)
It's not Filters/Map/Gradient map, but Colours/Map/Gradient map...

Anyway thanks, and now on to the playground ;)


My apologies i will correct the post and thank you. :)

_________________
Image


Top
 Post subject: Re: I created a waterdrop brush
PostPosted: Sat Dec 05, 2015 7:14 am  (#16) 
Offline
GimpChat Member
User avatar

Joined: Dec 05, 2015
Posts: 7
Location: Denmark
Rod wrote:
My apologies i will correct the post and thank you. :)

Your wellcome :)

_________________
tanasha67:
"Even shadows are beautiful, in the right light..."


Top
Post new topic Reply to topic  [ 16 posts ] 

All times are UTC - 5 hours [ DST ]


* Login  


Powered by phpBB3 © phpBB Group