Making Rivets and Screws
This segment is going to be much easier than our last one for making a hex bolt head in Metal Wurx - Part VIII. We will only use a few basic tools which are included with your original Gimp installation, a square brush, which I have included, and the Drawable Multiplication script available here with a complete explanation of how it works:
http://registry.gimp.org/node/22383 RivetsStep 1.
Open a new image 100x100 pixels and a high resolution of about 1200 ppi.
Step 2.
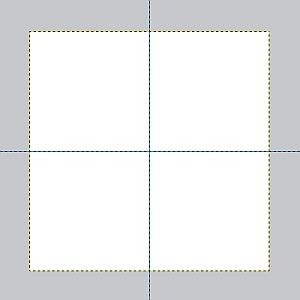
Create a new transparent layer above your background layer and name it Rivet. Change your view setting to 800% and create a couple of guides, one horizontal and one vertical at 50 pixels both ways so we can find the exact center just like we did for the hex bolt head tutorial if you have been following along. Once the guides are in place, zoom out to change your view setting to 550%.
Step 3.
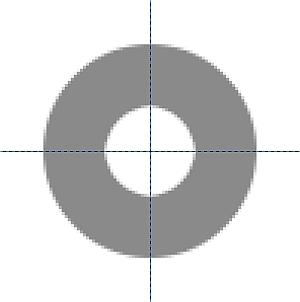
Select the Ellipse tool and tick the boxes for Expand from center and Fixed. Place your mouse cursor at the exact center where the guides intersect, and make a selection that is 70 pixels in diameter. Set your FG color to 8A8A8A and fill the selection with the light gray color. Go to Select>Shrink and enter 20 pixels in the dialog box and click OK. Hit the delete key to remove the center part of our gray circle, then go to Select>None.
Step 4.
Duplicate the Rivet layer and name the duplicate Blur. Go to Filters>Blur>Gaussian Blur and enter 25 for both values and click OK. Turn off the visibility of the Blur layer.
Step 5.
Select the Rivet layer to make it the active layer, and go to Filters>
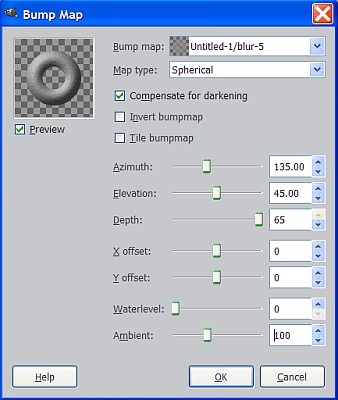
Map>Bump Map and make sure the Blur layer is selected as the Bump map. Set the Map type to Spherical and crank the depth up all the way. Set the Ambient to 100 and click OK.
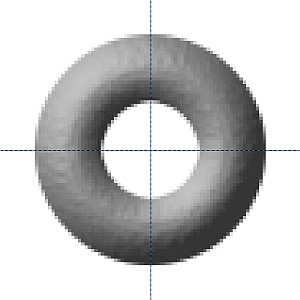
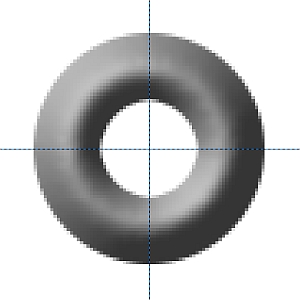
The spherical settings will give you a more rounded shape to your rivet like this.
If you want a more angular look or more of a ridge, change the Map type to Sinusoidal and you will get this.
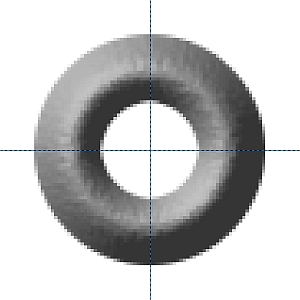
Either way, we have some texture to get rid of, resulting from the Bump map operation, and we need to smooth out our image. I like the sinusoidal setting, so we’ll use that one.
Step 6.
Delete the Blur layer and Lock the alpha channel on the Rivet layer by ticking the box at the top of the layers dialog. Go to Filters>Blur>Gaussian blur and enter 2 for both values and click OK. Repeat the Gaussian blur but set the values to 1 and click OK. If we use too much blur, or only one blur step, it tends to flatten out the ridge effect.
Step 7.
The bump map operation has already provided a slight gradient to simulate a light source so all we need to do is add a drop shadow. First let’s get rid of the guides (Image>Remove all Guides) then Go to Filters>Light and Shadow>Drop Shadow and apply these settings.
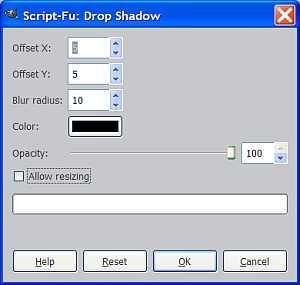
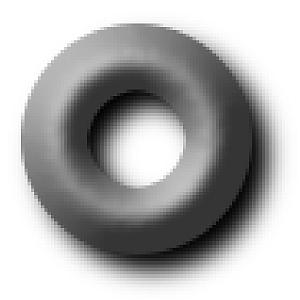
Remember, this is a very small image and a rivet does not stick up a lot from the surface so we don’t want a lot of shadow. We do need it to be darker so crank the opacity up to 100%.
Here is what your completed rivet should look like now.
Delete the background layer and save as a PNG image or better yet, save it as a GIMP brush file, with a .gih extension, and place it in your “user” Brushes folder.
ScrewsScrews are not much different from rivets so just follow Steps 1 & 2 for making a rivet but in Step 3, don’t shrink the selection or delete the middle area. Leave the whole gray circle intact. We’ll pick up from step 3 and continue for making an Allen screw head. First let’s change the name of the Rivet layer to Allen screw.
Step 4.
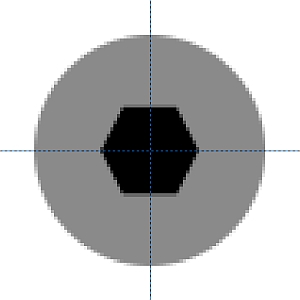
If you have been following these Metal Wurx tutorials you should already have the Hex brush included with the last one for making a hex bolt head. Create a new transparent layer above the Allen screw layer and Select the Paintbrush tool. Select the Hex brush and set the size to 30 pixels. Use the hex brush to place a hex shape in the exact center of the circle.
Step 5.
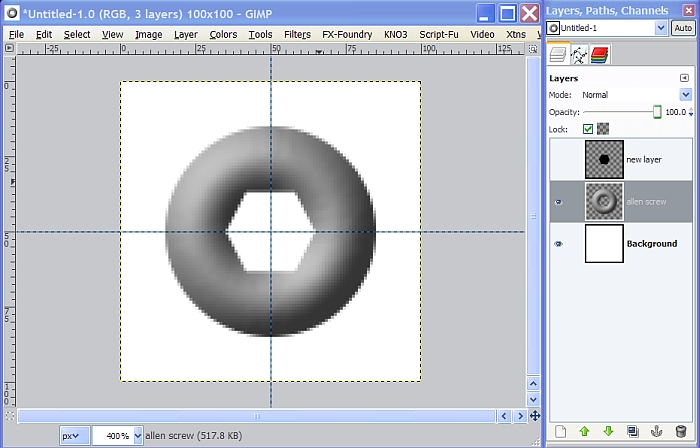
Right click on the transparent layer with the hex shape you just made, select Alpha to Selection, then turn off the visibility. Reselect the Allen screw layer to make it the active layer and hit the delete key to “cut out” the hex shape from the center. Go to Select>
None to turn off the selection, and your image and layers should now look like this.
Step 6.
We can delete the hex shape layer and follow the Rivet Steps 4, 5 & 6, but use the Spherical setting for the bump map process. Here’s where it gets a little different. The Shape of our screw is rounded and we don’t want to change that, but we need to show some depth with the hex shaped hole in the center.
Step 7.
Right click on the Allen screw layer and select Drawable Multiplication. Enter the settings from the screenshot below and click OK.
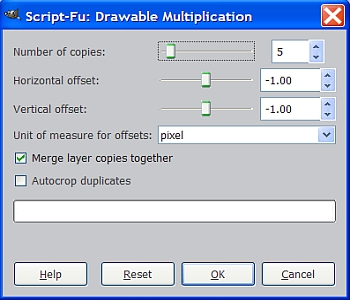
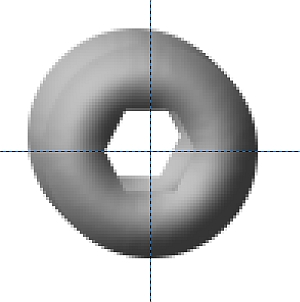
The filter will create a sort of 3D copy which is a composite of the 5 layers it created and merged. Move this 3D layer down below the Allen screw layer in the layer stack. You will notice that the Allen screw layer does not line up so select the Move tool and tick the circle for Move active layer in the tool dialog. Click anywhere on your image to activate the move tool and use the arrow buttons on your keyboard to move it exactly 6 pixels up and 6 pixels to the left. When you have it positioned, right click on both layers, one at a time, and select Layer to Image size.
Step 8.
Right click on the Allen screw layer again and select Alpha to Selection. Go to Select>Invert to select the area outside and reselect the 3D copy layer to make it the active layer. Turn off the visibility of the original Allen screw layer and select the Eraser tool. With the 3D cop layer still active Erase the outside of the selection so that the only portion of our 3D image still visible is the hex shaped area in the center.
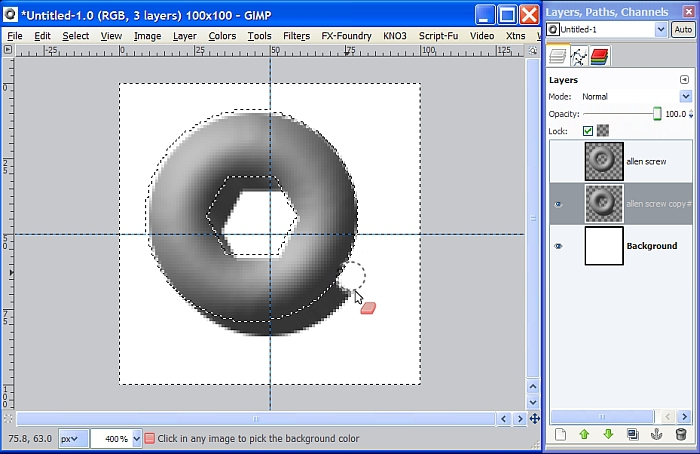
When you are finished erasing, go to Select>None to turn off the selection, then turn the visibility back on for the original Allen screw layer.
Step 9.
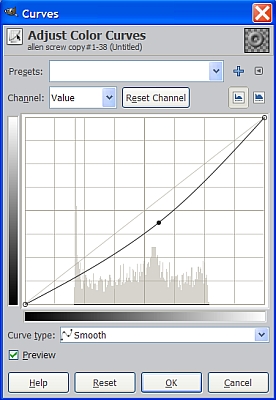
Go to Colors>Curves and adjust the middle of the curve down about a half a square to make the 3D layer (allen screw copy #1) a little darker and the 3D portion shows up more.
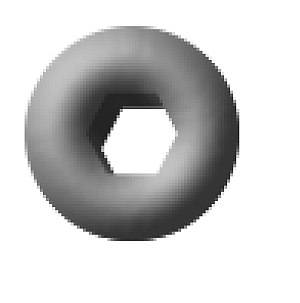
Let’s go ahead and turn off the guides while we are at it, so our image should now look like this.
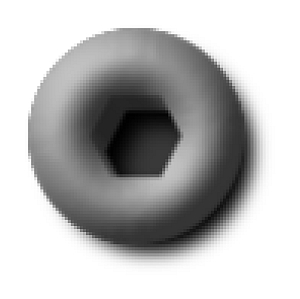
You can also lighten up the original layer a little if you like to make the 3d show up even more.
Step 10.
Merge the top two layers then fill the background with 3A3A3A and add a drop shadow like we did before in Step 7 for the Rivet. Alpha select the Allen screw layer and invert the selection like before. Select the background layer to make it active, and use the Eraser tool again to erase everything outside of the selection so that the dark gray is only in the center of the image. Go to Select>None and turn off the selection. Now our screw looks like it has a bottom in the center. Merge your layers and save it as a .gih brush.
 Slotted Screws
Step 1.
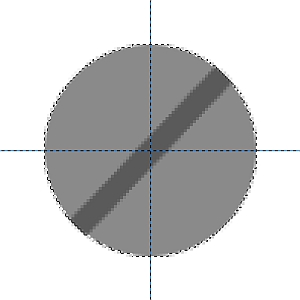
Let’s go back to our gray circle layer again only this time, name it Slotted Screw. Create a new transparent layer above it named Slot. Set the FG color to 5A5A5A and Alpha Select the Slotted screw layer. On the slot layer, use the paintbrush tool and the largest circle brush set to .36 to make a diagonal line across our selection like so.
Step 2.
Remove the guides and turn off the selection. Alpha to Selection on the Slot layer and select the slotted screw layer to make it active and hit the delete key, then Select>None. Set your view to about 800% so you can wok carefully. Reselect the Slot layer and use the Eraser tool with the square brush included with this tutorial, to cut out just a little of the top of the slot in our image.
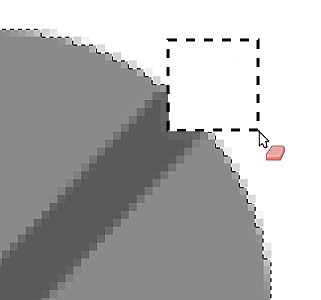
Working carefully, and utilizing the square brush with various sizes, and sometimes one pixel at a time if necessary, keep removing more to shape the slot until your image looks like this.

Step 3.
To make the slot look more realistic, we need to add some shadow to one side and give it that 3D look. Select the Slot layer, to make it active, then select the Free Select tool and make a selection around the top half of the slot like so.
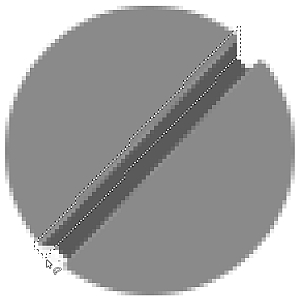
Now go to Colors>Curves and adjust the curve about a half a square or so to darken it just like we did in Step 9 for the Allen screw. Go to Select>None and Slot now has a darker “wall” appearance.
Step 4.
Merge the slot layer down with the Screw layer and create a new layer above it. Alpha to selection on the Slotted Screw layer and reselect the new layer to make it the active layer again. Select the Blend tool and reset your FG/BG colors to the default black & white. Set the Gradient to FG to BG and reverse the gradient. Stroke down at about a 45 degree angle from top left to bottom right of the selection and create your gradient layer. Set the layer Mode to overlay and you are done.

Some slotted screws are flat like this one and will usually be countersunk to be flush with the surface of whatever they are used for so there is little or no drop shadow to speak of. To make a Phillips screw, just make two slots at right angles to each other and continue in the same manner as we did for the one above. If you use a little blur and bump to make it more rounded looking, like a pan-head type screw, you may want to add a slight drop shadow.
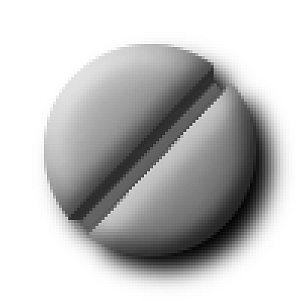
I wanted to get these all in one place so you could see the different techniques used and compare the results. A Phillips head screw is a little more involved but not much and this tut is long enough.
I hope you enjoyed this tutorial.
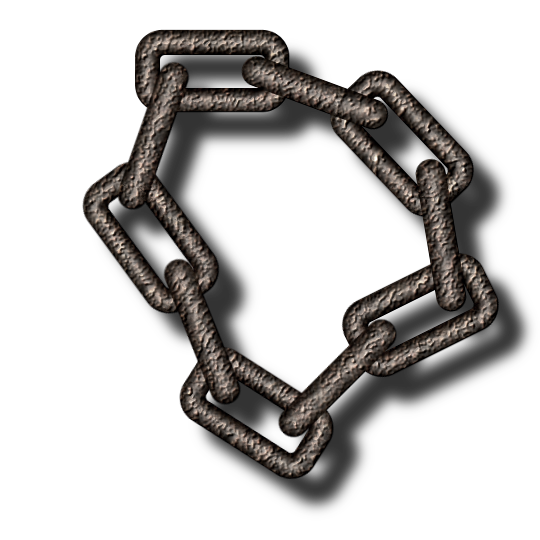
Metal Wurx – Part X is next and will show you how to make metal Chains like this.
 Login
Login Register
 Tweets
 FAQ
FAQ Advanced Search